|
I took a chance a couple months ago and signed up for Butcher Box. I liked the idea of having (almost) all the meat I need for the month delivered to me at once, and also organic and grass-fed. The only meat I've been purchasing at the store lately is ground turkey and fresh sliced deli meat. What exactly is butcher box? Exactly what it sounds like - cuts of meat delivered to your door step. It comes to your house completely frozen and ready for you to move into your freezer, or fridge to thaw out.  What comes in the box can be completely up to you. I always do the curated box which means I get to pick 6 items to add. It doesn't sound like a lot, but you need to also know that 1 selection of chicken breast is actually 3 lbs, divided into 3 vacuum sealed packs. This is the case with many of the products, so make sure you check how it's packaged so you know exactly how much product you'll be getting in your box.
My favorites so far? Chicken tenders, chicken breast, ground beef, ground pork, and the bacon. This is the first box we've received steaks in, so that will be determined after my son tried them out, but reviews I've read have been great. When it arrive at your house, it will be sealed up in an insulated box, ice cold. If you are at work, don't worry. It will be fine until you get home to put it away. It's that cold!! My last tip is watch for deals. A lot of times you can sign up when there is a "free for life" deal. This means you get that item for FREE with every box you order. To keep this "free for life" deal, you need to keep your subscription going. This means not cancelling. Don't worry though - you can easily skip a month or two and adjust deliveries. You can also use my link to get $30 off your first box. If you try it, let me know what was your favorite! Click for $30 off your first box: http://fbuy.me/oPKwU
0 Comments
When it comes to measuring your health progress, you have quite a few tools at your disposal. Some information isn't as easy to get your hands on, like blood tests, because they require a doctor and a lab. These test can help you track your cholesterol, blood sugar, and even check for inflammation markers. At home you can monitor things like blood pressure, waist size, weight, and body fat percentage. Don't look at just these numerical items for progress! How are you sleeping? Are your clothes fitting better? Has your mood improved or maybe your skin is looking brighter? Let's be honest - people typically use the scale as their number 1 measure of progress. For some people, this is absolutely one of the best tools to use to measure progress. When someone is very overweight, watching the number on the scale decrease can be encouraging. How do use that tool to help you, and not hurt or discourage you? When is is appropriate to use it as your main mode of measurement and when is it better to use other tools? I'm touching on that today, because this is a tool that people become obsessive over, and it's a mind trip for most people (especially women). Here are my recommendations on when to use the scale and when to use the scale and how.  When using the scale, setting a goal weight loss for 10% of your body weight (when severely over weight) can be a great place to start. For example, if client X weighs 300 lb, we would set their first weight loss goal to be 30 lbs (300 x 10% = 30). To achieve healthy and sustainable weight loss, this 30 lbs goal should be spread out over the course of a few months. In the beginning weight will typically fall of quickly, but weight loss of 1-2 lbs per week is healthy and sustainable.
How often should you weight yourself? It can be tempting to jump on the scale everyday. Did I lose a pound yesterday? I ate veggies all day, I should weigh less today. Listen to me - do not weigh yourself everyday. Your weight fluctuates day-to-day depending on how you ate the day before (too much salt?), if you exercises (muscles will be swollen and holding water), and if you have used the bathroom (yes, waste carries some weight!). Weight yourself no more than once a week, in the morning and before working out. Keeping all the variables the same will help you see if you've truly lost weight that week. What about as you hit your goal weight or find you've reached a point where you feel healthy and able to live an active life? The scale becomes less of an important tool. At this point you may want to focus more on your body composition (% of body fat and muscle mass). There are now scales on the market that can measure your body fat percentage. If building muscle mass is your ultimate goal, this is a great way to monitor your loss of fat and gain of muscle. Whatever your goal, make sure you are using the right tools to monitor your progress. Remember that one of your best tools in yourself! Listen to your body and take cues from it when it comes to your progress. Bathrooms habits, sleep quality, mood, and ease of movement are all great ways to monitor your improving health. Don't forget to schedule a yearly physical to check items you can't see with your eyes at home. Making your own bone broth is so simple and it can save you money because you use the entire chicken. So first thing's first - you need a whole roasted chicken. Or just chicken bones...but I have never had luck just finding chicken bones. So roast yourself a chicken or pick up a rotisserie chicken from the store. Stick with a basic chicken - no fancy flavors.
Once you have your whole chicken, remove all the good meat. Use this for salads, soups, or other recipes the week you make your broth. Now you should be left with your chicken bones. If a little meat is left on that's completely fine. This will give your broth even more flavor. You will also use vegetables in your broth. You can easily use what you have in the fridge that's fresh, or you can start freezing vegetable scraps as you cook and pull them out for your broth making. For this recipe I'll list what I use when I'm grabbing straight from the fridge. And lastly, you will need something acidic to help pull the the minerals out of the bones as it cooks. Typically you will find people use apple cider vinegar, but I hate vinegar. The smell makes my stomach turn. So I use lemon juice in it's place. It does the same thing so they can be interchanged. Now for the recipe. Ingredients: bones from rotisserie chicken 3 large carrots, cut into large pieces 2 large stalks of celery, cut into large pieces 1 onion, quartered 1 Tbsp chopped garlic 1 Tbsp lemon juice 1 tsp dried thyme 2 bay leaves 1 tsp pink Himalayan salt 1 tsp black pepper filtered water Place all ingredients into a 6 qt Instant Pot, adding the water last. When you add the water, stop when you reach the fill-line on the inside of your pot's bowl. Place the lid on top and move the valve to closed. Set the pressure cooker for 160 minutes (or 2 hours 20 minutes) using the manual setting. After cooking, release the pressure. Strain the broth through a fine mesh strainer. Skim the fat off the top of the broth while hot (it will look like a layer of oil) or wait until it cools and hardens on top to remove. Store in the fridge or freeze for longer. If you are looking to expand the tools and gadgets in your kitchen but don't know what to add, take a look at my list of kitchen items I recommend so you know what to ask for when someone says "what do you want for Christmas?" Or just buy it for yourself. Instant PotYou will hear people singing Instant Pot praises, and for good reason. These gadgets can saute, slow cook, and pressure cook. I love it so much that I snagged a second one for my own kitchen this year because I make many things with it and often wish I could do more than one at a time. They make hard boiled eggs with easy to peel shells, perfect rice, and bone broth fast than your slow cooker or on your stove top. I have found the 6 qt size is perfect for all the recipes I need it for. 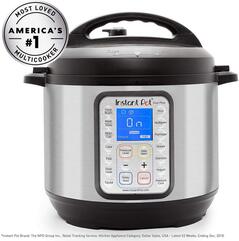 Vacuum SealerOne of the best gifts I have ever gotten is a vacuum sealer. I use it daily and on bulk cooking days it is super busy. Everyday I use it to reseal frozen fruit bags, cereal bags, chips or pretzel bags...anything in a bag. Only eat half an avocado? Place the other half in a vacuum sealer bag and remove all the air and seal. This keeps your avocado fresh until you are ready. On bulk cooking days, allow food to cool (and depending on the item, flash freeze) and vacuum seal in individual servings or as one recipe. This will keep off freezer burn. 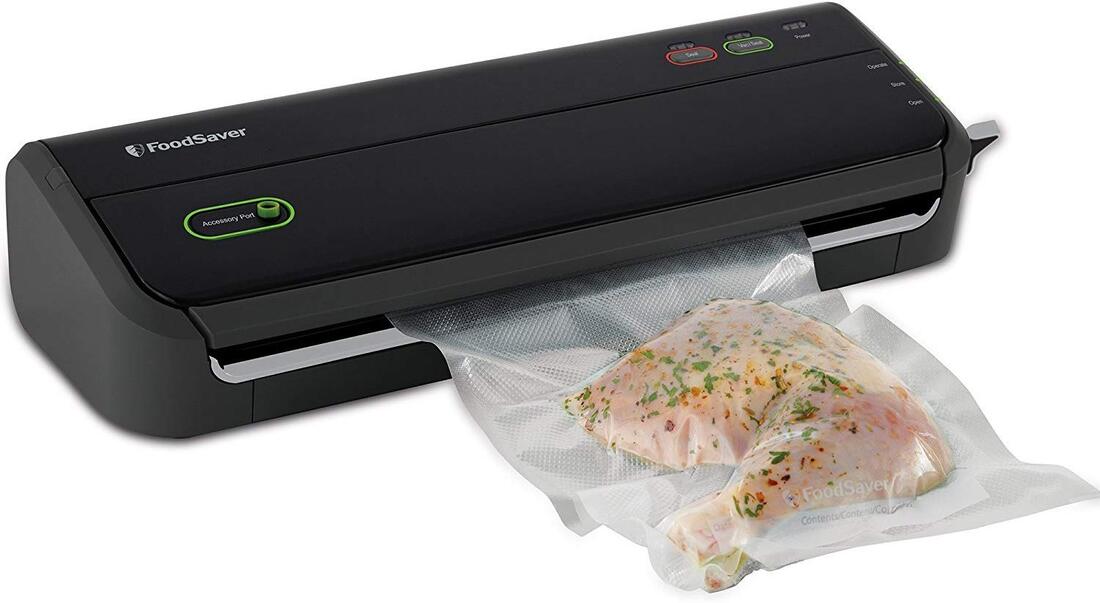 Enameled Cast Iron SkilletAnother item i use in the kitchen daily - my enameled cast iron skillet. I love that is can go from range to oven making it a versatile item in my kitchen. I make grilled cheese, eggs, pancakes, and grilled chicken on my stove top and make cinnamon rolls, roasted pork tenderloin, and Chicago style pizza in the oven. Cast iron distributes heat evenly, and the enamel coating helps keep food from sticking. This is another item I have two of. 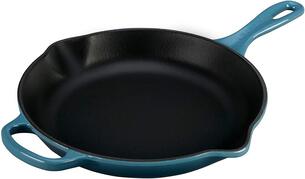 Avocado CuberRandom? Yes. But I promise you'll use it! Press it into the avocado half and then pop out the perfectly sized avocado cubes. Perfect to top your salads or chili. Prefer your mashed or as guacamole? They make some great avocado mashers as well. I know, you can use a fork, but this will have more surface area so you will get the mashing done much fast. 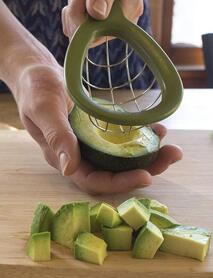 Ground Meat ChopperHear me out on this one. It looks simple enough, but this little gadget makes browning ground meat fast and effortless. Rotate it while the ground meat cooks to break up the clumps. Pick one that is heat-proof so that you can rest it in the pan without worrying about it melting. 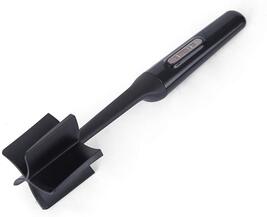 Stainless Steel Condiment CupsThese little cups are great for keeping sauces and condiments from oozing over to food you don't want them on. Or maybe that's just something I worry about because my kids hate it. Either way, these cups are great for holding ketchup, BBQ sauce, and salad dressings. 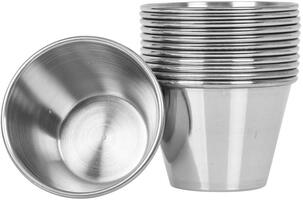 Cook BooksOne of the best items you can add to your kitchen is a cookbook. My tip when it comes to cookbooks is to go to your library first. A lot of libraries carry cookbooks. Flip through a few and maybe even check some out to try. Once you find a few you like, go buy your own copies! You'll learn about new tools and appliances you will use often as you try new recipes and this is a great way to build your kitchen.
This recipe came from a meal kit I picked up at Kroger (I think). I changed it just a smidge from the original to suit my taste. This is a great way to get that turkey and stuffing flavor without having to do all the work of roasting a turkey and making a big batch of stuffing. This recipe has you brown and cook the meatball in a skillet in olive oil. I plan to play with the recipe and find a way to make this a one (or two) sheet meal and get it all done in the oven. So watch for that update in cooking method in the future. 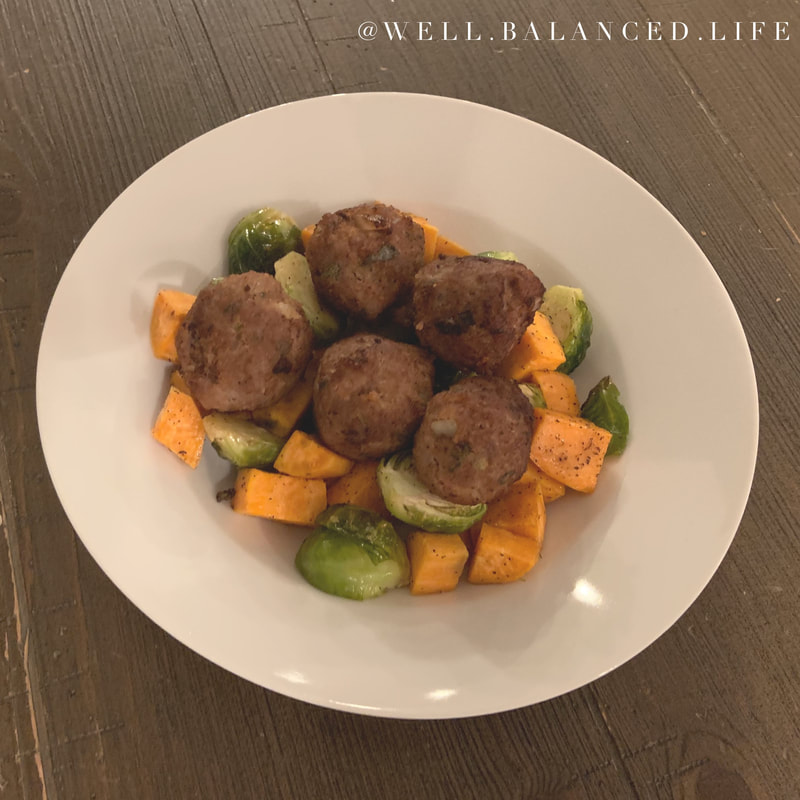 Ingredients:
1lb ground turkey 6 Tbsp bread crumbs 1 cup chopped onion 1/2 cup diced celery 1/4 cup poultry herbs 2 cups diced sweet potatoes 4 cups Brussels sprouts, halved 2 Tbsp water 4 Tbsp olive oil Salt and Pepper Preheat the oven to 400 degrees. Remove the herbs leaves form the stems and roughly chop. In a large mixing bowl combine the chopped herbs, bread crumbs, onions, celery, 2 Tbsp of water, and 1 tsp salt. Add the ground turkey and gently mix. Form into 1-inch meatballs - about 20. Place the Brussels sprouts and sweet potatoes on a baking sheet. Drizzle with 2 Tbsp of and season with salt and pepper to taste. Cook for 20 minutes, stirring halfway through. While the vegetable are roasting, heat a large skillet with the remaining olive oil. Carefully add the meatballs to the skillet and cook for several minutes on each side until browned and the meatballs are cooked through. You may have to do this in two batches, depending on the size of your skillet. Divide vegetable and meatballs between four bowls. 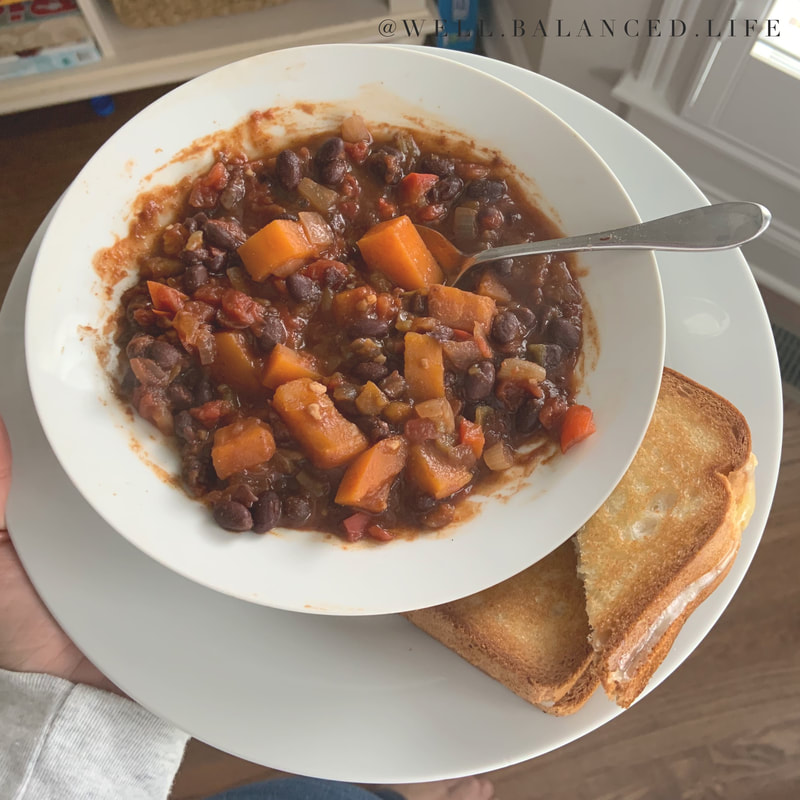 2 medium-large sweet potatoes, peeled and cut into chunks
1 cup chopped onion 2-3 cloves chopped garlic 1 medium red bell pepper, diced 2 cans of black beans, drained and rinsed 28-ounce can diced tomatoes 4-oz can chopped green chili 1 Tbsp chili powder 2 tsp ground cumin 1/2 tsp coriander 1/2 tsp oregano S&P to taste Place all the ingredients in the slow cooker and cook on low for 8 hours. Top with cheese, avocado, diced green onion, or other chili toppings of your choice. We always end up with leftovers so plan to have a few lunches for the week as well! Elderberry syrup is a popular health item these days. You can buy syrup at the store or from local vendors, and I've even seen elderberry gummies (I'm planning on trying this in the future!). What exactly is an elderberry? It's a medicinal plant commonly use to treat or prevent cold and flu. It's believed to help boost your immune system if taken daily and help shorten illness if taken every few hours while symptoms persist, One thing to note about elderberries is the fact that if eaten raw, the berries can actually be toxic, which is why we cook the berries. So don't taste test the dried berries while you work. As for dosage, I've heard different amount from different people. We give the kids no more than a tsp in a single dose and Andrew and I take up to 1 Tbsp. Please remember, I am not diagnosing or prescribing anything for you. I'm just sharing how we make our syrup and how we use it. Now, bust out your Instant Pot for this recipe! 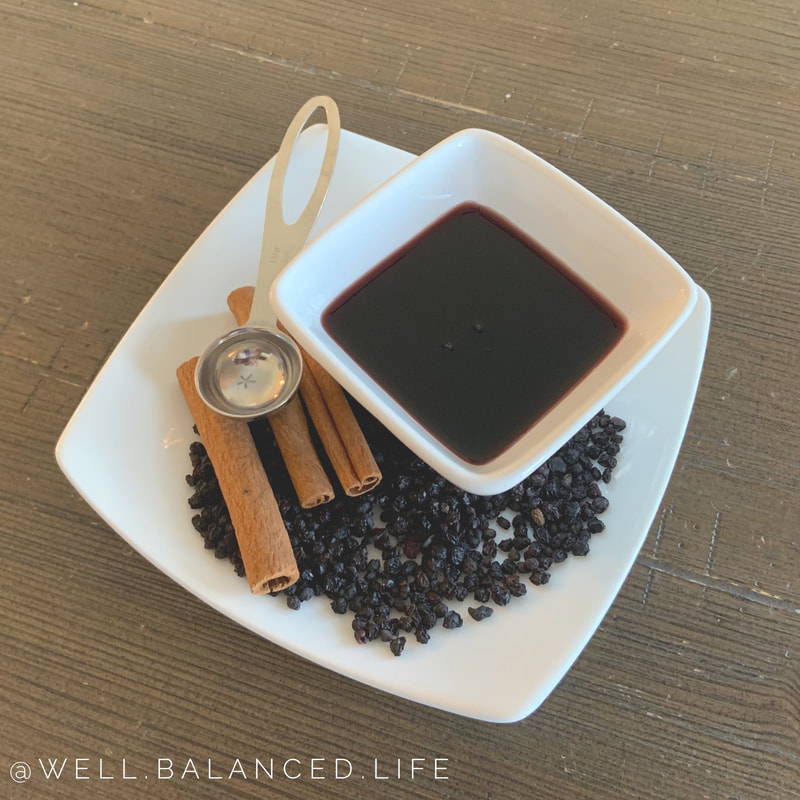 Ingredients:
3 1/2 cups water 2/3 cup dried organic elderberries 1 tsp ground ginger 1 tsp ground cinnamon 1/2 cloves 1 cup organic honey (local preferred) 5-6 drops DoTerra OnGuard or Young Living Thieves (optional) To make in your Instant Pot, place all the ingredients except the honey and essential oil (if using) in your Instant Pot. Place the lid on and make sure the valve is closed. Set to pressure cook for 9 minutes. When it's done, vent the pressure and then strain. Allow the mixture to cool to room temperature and then stir in the honey and essential oil. I then store the cooled mixture in mason jars in the fridge. This make enough for 2 16 oz jars. Roasting your own chicken can be a cost effective way of feeding your family, as well as providing the basic ingredient for making bone broth after.
Truth be told, I never plan on making roasted chicken for dinner. I typically keep my eye out for whole organic chicken to go on sale at Kroger. These are usually the ones that have a sell by date of today or tomorrow. So when I see an entire organic chicken for just at $7, I grab 2 or 3 and spend a day roasting them just to freeze. I remove the meat form the bones and vacuum seal to use for a future meal (tacos, soups, casseroles, etc) and then freeze the bones separately to make bone broth with. This is my go-to roasted chicken recipe. Ingredients: 4-6 lb whole chicken (neck and giblets removed) 2 Tbsp olive oil 1 1/2 tsp salt 1 tsp paprika 1 tsp black pepper 3/4 tsp poultry seasoning 1/2 tsp onion powder 1/2 tsp chili powder 1/4 tsp garlic powder Preheat the oven to 450 degrees. Rinse your chicken and pat well to dry. Combine the olive oil with all the spices and mix well. Rub half the mixture under the skin of the chicken, then rub the remaining spices on the outside of your chicken. Place your chicken, breast side up, in an oven safe skillet or roasting pan. Place in the preheated oven and immediately reduce the heat to 375. Roast for approx 20 minutes per pound. Remember, don't throw out the bones! Save those for my bone broth recipes. All the flavor, none of the oil! These are so super easy and a crowd pleaser. 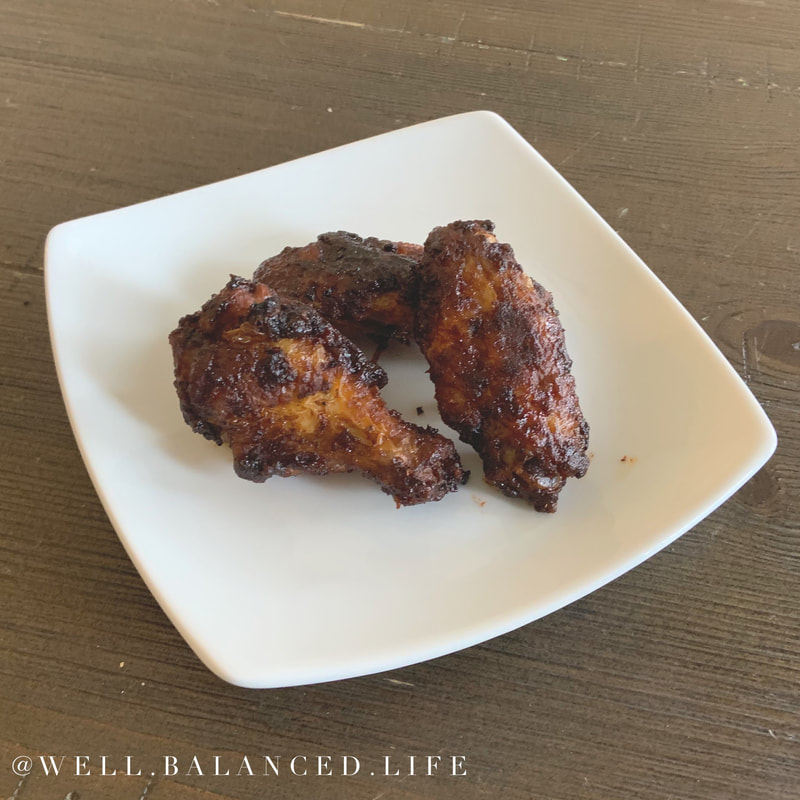 Ingredients:
12 chicken wings (drumettes and wingettes separated) 1/2 tsp salt 1 Tbsp chili powder 1 tsp garlic powder 1/2 Tbsp baking powder BBQ sauce (optional) Make sure the wings are dried really well and place them in a bowl. Add the salt, chili powder, garlic powder, and baking powder, and toss to make sure the wings are evenly covered. Lightly spray your air fryer cooking rack with non-stick spray and place the wings on the rack. Try to leave a little room between each wing to they don't touch. Set the fryer to 400 degrees for 20-22 minutes. When you remove the wings, let them cool a bit before eating. To add extra flavor, toss them in your favorite BBQ sauce right after removing from the fryer. Make a head and reheat on the oven at 350 degrees. These also can be frozen for longer storage, reheating at 350 in the oven straight from the freezer. I am strongly convinced that if you don't like salads, you aren't making them right! A bowl of plain lettuce is not exciting for anyone, but if you add other fresh and wholesome ingredients, you have a meal that will keep you full for hours. Enter my Berry Basil Chicken Salad. I typically have all the ingredients on hand for this salad so it's easy to pull together in a snap. This recipe also includes a serving of homemade Lemon Basil dressing, because I HATE vinegar. Loath it. It makes me feel ill just to smell it. So for the acidic portion of the dressing I use lemon juice. You have two easy options when it come to the chicken in this salad: use leftover chicken you have on hand or chop up roasted deli meat chicken (I love boar's head for our deli meat). It's not a quick meal if you have to prepare chicken to go on top. I used Boar's Head roasted chicken in mine. 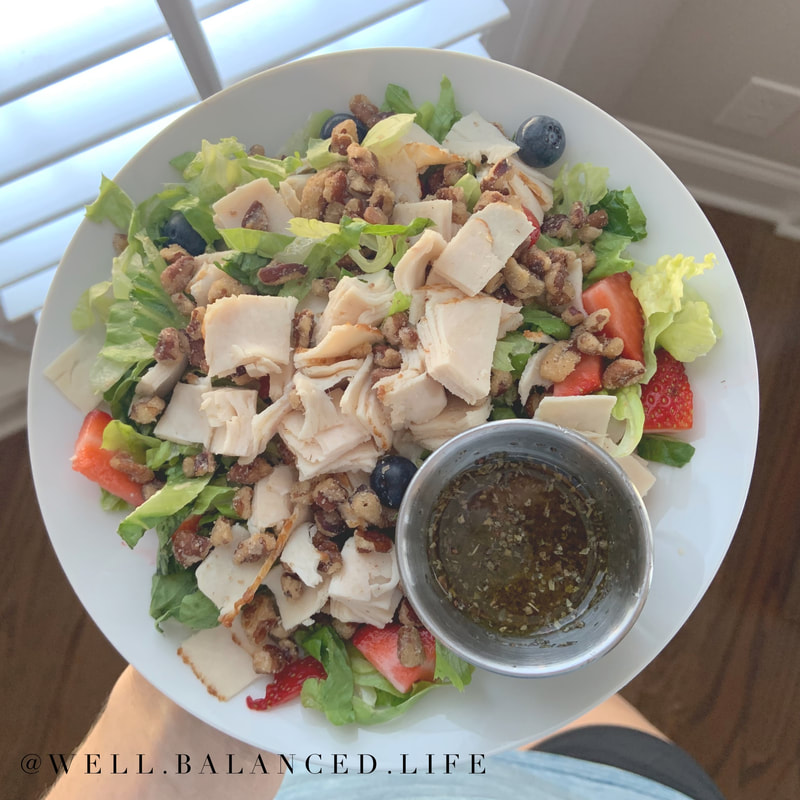 Salad Ingredients:
1 1/2 cups chopped romaine lettuce 1/2 cup of mixed blueberries and sliced strawberries 3 oz of chopped chicken 1 Tbsp chopped pecans Toss all ingredients together in a bowl with dressing (recipe below). Lemon Basil Dressing: 1 Tbsp lemon juice 1 Tbsp olive oil 1/4 tsp dried basil salt & pepper (to taste) |